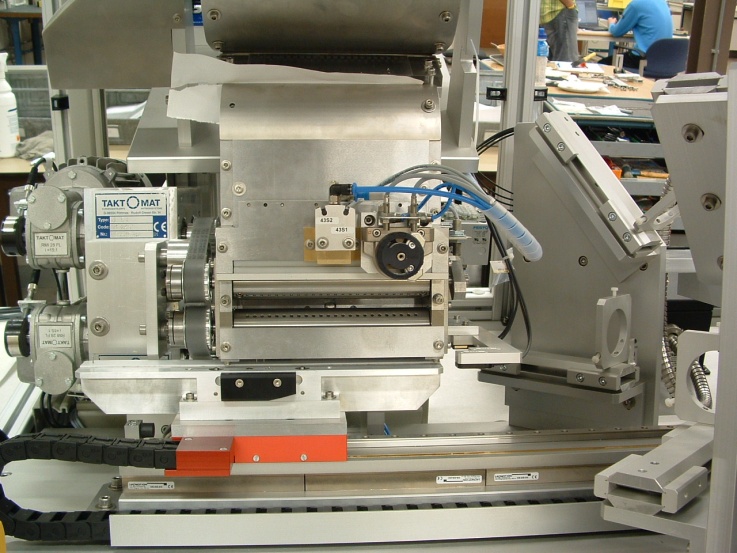
The question was to create a fully automatic test and sorting machine. Working from bulk, every cup had to be separated and lined up for a quality inspection. These deep drawn molybdenum cups measure : diameter= Ø1.0mm, height= 3mm.
Inspection criteria:
Mechanical surface defects like holes, deformations, cracks, scratches and indents
Optical surface inspection on smoothness
12 cups/second

Correct cup (left) and defects; no bottom, indents & scratches

Bulk supply of micro cups
 From bulk to single cups

Line up of cups on the carrier
 Cup carrier transport into the vision area
 Eight cameras are used for one cup at the time
 End station separation of the good & the bad cups (built in 2005)

